
 NEW!! Free UK Delivery
 Hassle-Free Returns
 Great Advice
 Clearpay


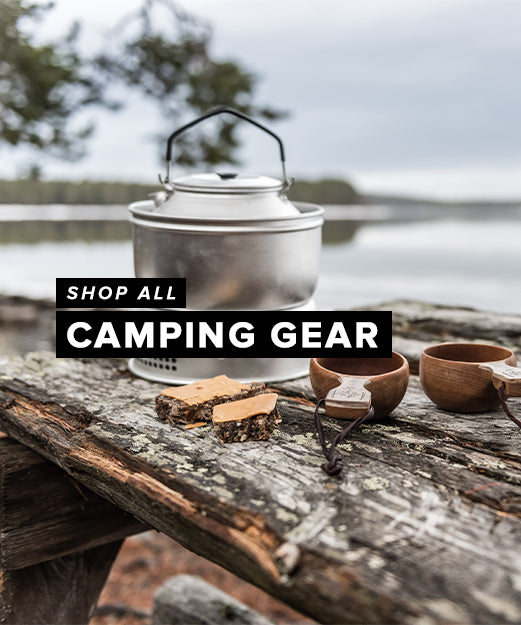


Optimus Multi Fuel Stoves Part 2: How to use one [VIDEO]
[youtube height="HEIGHT" width="WIDTH"]https://www.youtube.com/watch?v=521fsIxb8oQ[/youtube] We looked at the fuel bottles and stove in the first part and now what we're going to do is connect everything up and light a stove. Now that's empty so I'm going to take this other one, now I've got the bottle here and I've got to put pressure into the bottle so I'll pump this...I pumped that 25 times, there is a 'OFF' system that's already off so there's nothing getting out and I take the cap off there and I take the stove and the cap off the end of the stove feed line and there is a little bayonet fitting, I pop that into there and I push for it and that's connected up. I open up the legs on the stove and this is my control, so once I open the valve letting fuel out of the tank, then I've got this to control the fuel into there. A little tip for people is just be aware of which way the wind is blowing, I'm aware the wind blowing this way today so I'm going to orientate this because I know that when I light it ill get a little bit of extra flame as I'm warming up the stove. So I open the fuel feed and then I open the fuel line and then I'm going to have liquid fuel come along here and its going to come out of here and its going the wet the wick at the bottom and I'm going to use that to prime the stove. Because I need to make the base of the stove hot to get everything started, so I've got some fuel in there now and excuse me while I just come round and block the view a little bit but that's where the holes are on the stove for lighting it and I'm going to light the stove. And so that's the stove lit and you can see the yellow flame, the yellow flame is the liquid burning from the wick and what that's doing is heating up the metal base, the brass base, of the stove and I want to get that nice and warm. So that then when I next open the valve and send the liquid down here, it then goes into the hot chamber, turns into a gas and then burns at the top of the stove as a gas. That's what we're going to cook on. So the yellow flame is just the warm up stage its just he pre amble bit, it's probably warm enough now but I've put a bit too much fuel in there, and I want to let that yellow flame burn a bit. When I feel that things are going to be hot enough I just open up that valve and that will just help to burn off that liquid fuel. And we now have the stove lit, roaring away nicely, nice and hot, and I open the wind shield around there and it's a very stable low thing and the fuel tank is there. There is a 'ON' symbol at the top of the pump here so if I turn this over, then the feed out of the fuel bottle is just going to be air, we showed that in a earlier short bit of video we did, but what I want to do is flip that over now, to give you an idea of how efficient this stove is. It is now just taking air out of here, all the time this is burning now it is just burning the few drops of liquid left in the hose. Its an extremely efficient system, it doesn't need a lot of fuel to cook for quite a while. Be patient, it is only taking air out of this tank and burning fuel form inside this line, it will go out, I'm sure!... And there we go it's gone out, and that gives you an idea of how efficient, how fantasticaly efficient these stoves are, what's happening right now is that its purging itself and the pressure is coming out of this canister, down the line and its just air coming out now and I'm just letting the air and the pressure come out of the bottle so there is no pressure left in the bottle. Thank you very much! Check out the range...